Are you having trouble getting any sound from your record player? Many experience issues with record player audio, and it can be frustrating to try to diagnose and fix the problem on your own.
With a little knowledge, you can troubleshoot and solve most record player audio issues yourself.

In this guide, we will walk you through some common record player audio issues and provide step-by-step instructions on how to diagnose and fix them. Let’s get started!
Turntable Mechanics

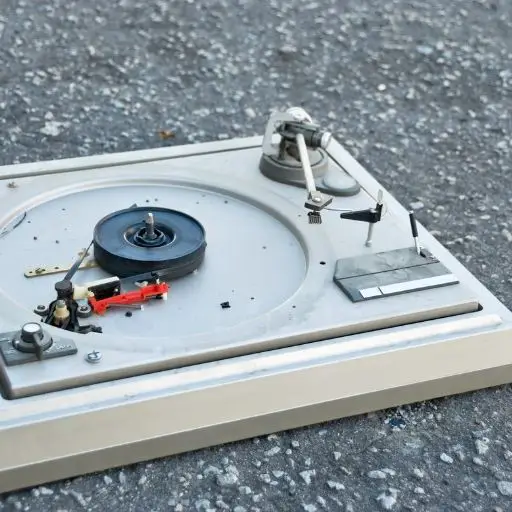
It’s important to understand the basic mechanics of a turntable. A record player, also known as a turntable, is a device that plays vinyl records. The record player consists of several key components, including:
- Platter: The platter is the rotating platform that holds the record in place and spins it at a consistent speed. The platter is typically driven by a belt or a direct-drive system.
- Tonearm: The tonearm is the long, thin arm that holds the cartridge and stylus (needle) and tracks the grooves on the record.
- Cartridge: The cartridge is a small component at the end of the tonearm that holds the stylus (or needle) that actually makes contact with the record. The cartridge converts the physical vibrations of the stylus into an electrical signal that can be amplified and played through speakers.
- Stylus: The stylus is the small, pointed tip at the end of the cartridge that makes contact with the grooves on the record. The stylus is responsible for reading the physical vibrations of the grooves and converting them into an electrical signal.
- Phono preamp: The phono preamp is a specialized amplifier that boosts the electrical signal from the cartridge to a level that can be played through speakers. Some record players have a built-in phono preamp, while others require an external phono preamp.
For example, if you’re experiencing no sound or poor sound quality, it could be due to a problem with the cartridge or stylus. If the record is playing too fast or too slow, it could be due to a problem with the platter or the belt (if your turntable uses a belt drive system).
By understanding the mechanics of your record player, you can identify the source of the problem and take the necessary steps to fix it.
Common Causes of Audio Issues

When it comes to record player audio issues, there are several common causes that you should be aware of. Here are some of the most frequent culprits:
Dirty or Damaged Needle
The needle, also known as the stylus, is responsible for reading the grooves on your vinyl records and translating them into sound. If the needle is dirty or damaged, it can cause audio issues like distortion, skipping, or no sound at all. Make sure to clean your needle regularly and replace it when necessary.
Incorrect Setup
Record players require proper setup to function correctly. If your turntable is not set up correctly, it can cause audio issues like low volume or no sound. Make sure to follow the manufacturer’s instructions carefully when setting up your record player.
Loose or Damaged Connections
Loose or damaged connections can cause audio issues like crackling, popping, or no sound at all. Make sure all connections are secure and inspect them regularly for any damage.
Dust and Dirt
Dust and dirt can accumulate on your record player’s components and cause audio issues. Make sure to clean your record player regularly and keep it covered when not in use.
Worn Components
Over time, the components in your record player can wear out, causing audio issues like distortion or no sound at all. Make sure to inspect your record player regularly and replace any worn-out components.
By being aware of these common causes of audio issues, you can diagnose and fix any problems with your record player’s sound.
Initial Troubleshooting Steps
If you’re experiencing audio issues with your record player, don’t panic! There are a few initial troubleshooting steps you can take to diagnose and potentially fix the problem.
First, check to make sure all of your connections are secure. Ensure that your record player is plugged in and turned on, and that your speakers or headphones are properly connected. If you’re using external speakers, make sure they’re turned on and set to the correct input.
If your connections are secure and you’re still not getting any sound, check the volume levels on both your record player and your speakers or headphones. Make sure the volume is turned up and not muted.
If you’re still not getting any sound, try cleaning your record player’s stylus or needle. A dirty stylus can cause audio issues, so gently clean it with a stylus brush or cleaning solution.
If none of these initial troubleshooting steps work, don’t worry. There may be a more complex issue at play, but these steps are a good starting point for diagnosing and potentially fixing your record player’s audio issues.
Inspect the Cartridge and Stylus

When it comes to diagnosing and fixing record player audio issues, inspecting the cartridge and stylus is a crucial step. Here’s what you need to know:
Checking Cartridge Alignment
The alignment of your cartridge can have a big impact on the sound quality of your record player. If your cartridge is misaligned, it can cause distortion, channel imbalance, and other audio issues. To check the alignment of your cartridge, you can use a protractor tool. Place the protractor on your turntable platter and align it with the spindle. Then, use the lines on the protractor to align the cartridge. If you’re not sure how to use a protractor, consult the user manual for your turntable.
Examining the Stylus Condition
The stylus is the needle that reads the grooves on your records. Over time, the stylus can become worn or damaged, leading to distortion, crackling, and other audio issues. To examine the condition of your stylus, use a magnifying glass or microscope to inspect the tip of the needle. Look for signs of wear or damage, such as a bent or broken tip, or a buildup of dirt or debris. If you notice any issues with your stylus, it may be time to replace it.
In addition to inspecting the cartridge and stylus, it’s also important to keep them clean. Dirt and debris can build up on the stylus and cartridge, leading to audio issues. Use a stylus brush to clean the needle, and use a soft cloth to clean the cartridge. Avoid using harsh chemicals or abrasive materials, as these can damage your equipment.
By inspecting the cartridge and stylus, you can ensure that your record player is in top condition and producing high-quality audio.
Verifying Turntable Connections
One of the most common causes of audio issues in record players is a loose or damaged connection. Before diving into more complicated troubleshooting, it’s important to verify that your turntable connections are secure and functioning properly.
Testing Cable Integrity
The first step in verifying your turntable connections is to test the integrity of your cables. Inspect the RCA cables that connect your turntable to the amplifier or receiver. Look for any visible signs of damage, such as frayed wires or bent connectors. If you see damage, replace the cables with new, high-quality ones.
To test the integrity of your cables, gently wiggle them while playing music through your turntable. If you hear any crackling or popping sounds, it’s likely that your cables are damaged and need to be replaced.
Ensuring Proper Connection Types
Another important aspect of verifying your turntable connections is ensuring that you’re using the correct connection types. Most modern turntables use RCA cables, which are color-coded red and white. Make sure that the red cable is plugged into the red input on your amplifier or receiver, and the white cable is plugged into the white input.
If your turntable has a ground wire, make sure that it’s connected to the appropriate terminal on your amplifier or receiver. This wire helps to reduce unwanted noise and interference in your audio signal.
By verifying your turntable connections, you can quickly and easily diagnose and fix many common audio issues. If you’re still experiencing issues after verifying your connections, it may be time to move on to more advanced troubleshooting techniques.
Set Correct Tracking Force

One of the most important factors in achieving optimal sound quality from your record player is setting the correct tracking force. Tracking force refers to the downward pressure that the stylus applies to the record surface as it tracks the groove. If the tracking force is too light, the stylus may skip or jump out of the groove, resulting in distorted or incomplete sound. On the other hand, if the tracking force is too heavy, the stylus may wear out the record groove prematurely, causing permanent damage to your vinyl collection.
To set the correct tracking force, you need to adjust the counterweight on the tonearm. Most turntables come with a counterweight that can be adjusted to set the tracking force. Some models may have a dial or a scale to help you set the correct weight, while others may require you to use a tracking force gauge.
To begin, you need to reset your tonearm so that it can balance in mid-air on its own. Then, adjust the counterweight so that the cartridge and stylus are floating without touching the platter/record but also not falling upwards. Your counterweight is now set to zero. Refer to your turntable’s manual to find the recommended tracking force for your cartridge/stylus. Once you have this information, adjust the counterweight by turning it until the recommended tracking force is achieved.
It is important to note that different cartridges and styli may require different tracking forces, so it is crucial to consult your turntable manual or the manufacturer’s website for the correct tracking force. Setting the correct tracking force will not only improve the sound quality but also prolong the life of your cartridge and stylus.
In summary, setting the correct tracking force is essential for achieving optimal sound quality and prolonging the life of your cartridge and stylus. By following the steps outlined above, you can ensure that your tracking force is set correctly, and your record player is performing at its best.
Adjusting Anti-Skate
Anti-skating is an important setting that helps maintain good channel balance, minimize distortion, and reduce stylus and record wear. If your turntable has an adjustable anti-skate control, you can begin by adjusting it to the same value as the vertical tracking force (VTF) used. This will get you in the ballpark.
To adjust the anti-skate, you need to follow these simple steps:
- Set Tracking Force and Anti-Skate to Zero: Before you begin adjusting anti-skate, make sure your tracking force and anti-skate are both set to zero. This will ensure that you start with a clean slate and can accurately adjust the anti-skate.
- Float the Tonearm: Next, you need to float the tonearm. This means that the tonearm should be free to move up and down without any pressure from the tracking force. You can do this by turning the counterweight until the tonearm is balanced and floating freely.
- Set the Anti-Skate: Once the tonearm is floating, you can set the anti-skate. Start by setting it to the same value as the tracking force. Then, listen carefully to the last few minutes of a record to determine if more or less anti-skate is needed. If the sound is distorted or unbalanced, adjust the anti-skate accordingly.
- Test and Calibrate: After you have made the adjustments, it is important to test and calibrate your settings. You can do this by playing a record and listening for any distortion or unbalanced sound. If everything sounds good, then your anti-skate is properly adjusted.
In conclusion, adjusting anti-skating settings is a crucial step in maintaining good sound quality and prolonging the life of your records.
Amplifier and Speaker Functionality
When your record player is on but you can’t hear any sound, it’s time to analyze the functionality of your amplifier and speakers. Here are a few things you can do to troubleshoot these components.
Troubleshooting the Pre-Amplifier
The pre-amplifier is responsible for boosting the signal from your record player to a level that can be processed by the amplifier. If the pre-amplifier is not functioning correctly, you may not hear any sound from your speakers. To troubleshoot the pre-amplifier, follow these steps:
- Check the connections between the pre-amplifier and the amplifier. If the connections are loose or not plugged in correctly, the pre-amplifier may not be sending a signal to the amplifier.
- Check the power source for the pre-amplifier. If the pre-amplifier is not receiving power, it will not function correctly.
- Check the volume level on the pre-amplifier. If the volume is turned all the way down, you will not hear any sound.
Inspecting Amplifier Inputs
If the pre-amplifier is functioning correctly, the next step is to inspect the inputs on the amplifier. The amplifier takes the signal from the pre-amplifier and amplifies it to a level that can be played through the speakers. If the inputs on the amplifier are not functioning correctly, you may not hear any sound from your speakers. To inspect the amplifier inputs, follow these steps:
- Check the connections between the pre-amplifier and the amplifier. If the connections are loose or not plugged in correctly, the signal may not be reaching the amplifier.
- Check the input selector on the amplifier. If the selector is not set to the correct input, you will not hear any sound.
- Check the volume level on the amplifier. If the volume is turned all the way down, you will not hear any sound.
Examining Speaker Output
If the amplifier inputs are functioning correctly, the next step is to examine the speaker output. The amplifier sends the amplified signal to the speakers, which convert the electrical signal into sound. If the speaker output is not functioning correctly, you may not hear any sound from your speakers. To examine the speaker output, follow these steps:
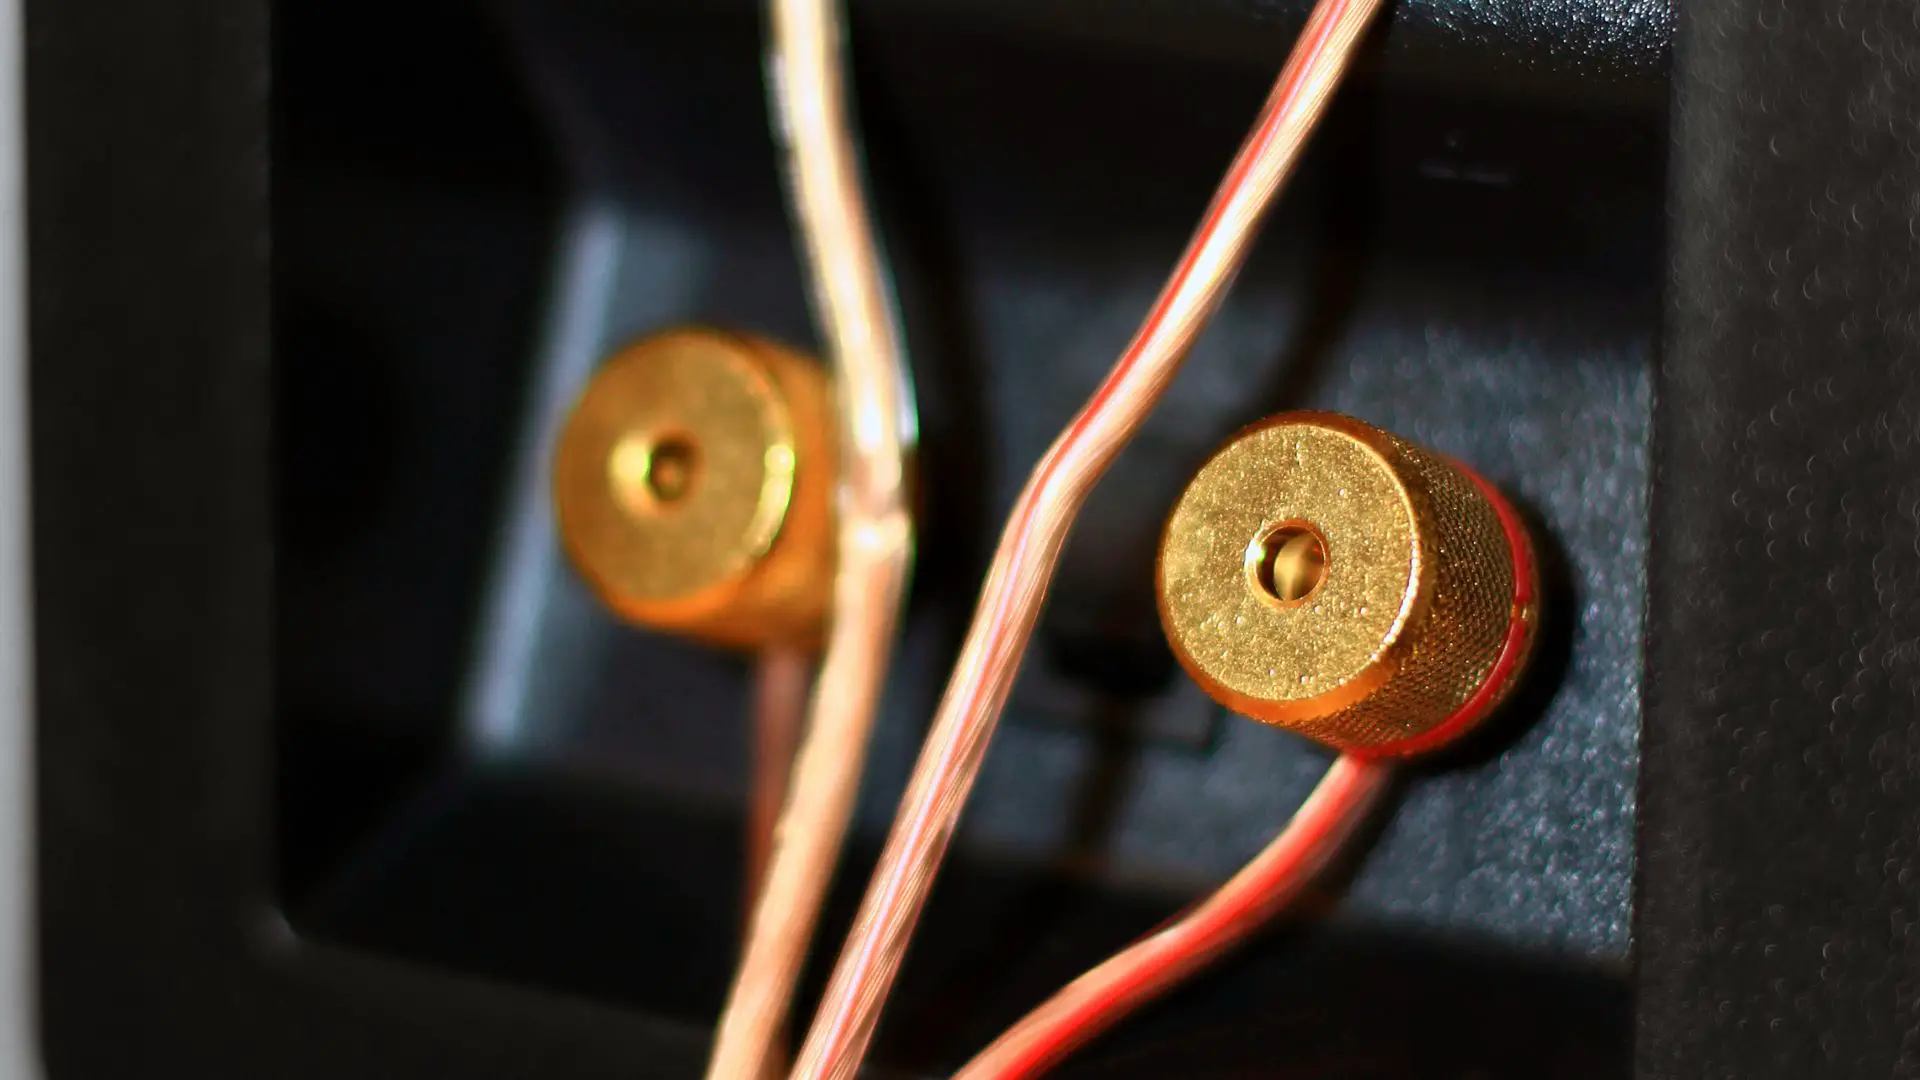
- Check the connections between the amplifier and the speakers. If the connections are loose or not plugged in correctly, the signal may not be reaching the speakers.
- Check the speaker wires for damage. If the wires are damaged, the signal may not be reaching the speakers.
- Check the speaker volume level. If the volume is turned all the way down, you will not hear any sound.
Professional Repair Services
If you have tried all of the DIY methods and your record player still isn’t producing sound, it may be time to consider utilizing professional repair services.
When seeking out professional repair services, it is important to do your research and find a reputable provider. Look for reviews and ask for recommendations from fellow vinyl enthusiasts. You want to ensure that the technician has experience working with record players and can accurately diagnose and fix the issue.
Before committing to a repair service, be sure to inquire about the cost and turnaround time. Some repairs may be more extensive than others and may require parts that need to be ordered.
It is also important to remember that professional repair services can be expensive. If the cost of repair exceeds the value of the record player, it may be more cost-effective to purchase a new one.
Overall, utilizing professional repair services can be a great option for more complex issues with your record player. Just be sure to do your research and find a reputable provider that can accurately diagnose and fix the issue at a reasonable cost.