When it comes to turntable stylus replacement, one of the most important things to consider is timing. Replacing your stylus at the right time can help you preserve the life of your vinyl records and ensure optimal sound quality. Here are two ways to determine when it’s time for a stylus replacement:
Stylus Lifespan Expectancy
The lifespan of a turntable stylus can vary depending on several factors, including the type of stylus, the quality of the stylus, and how often you use your turntable.
As a general rule of thumb, a diamond stylus should be replaced after 800 to 1,000 hours of playing time. However, hours are a difficult metric to measure when it comes to vinyl playback, so it’s helpful to convert this into a rough number of albums.
For example, if you listen to an average of one album per day, your stylus may need to be replaced after two to three years. If you listen to multiple albums per day, your stylus may need to be replaced more frequently. It’s important to keep track of how often you use your turntable and how many hours of playing time you accumulate to determine when it’s time for a replacement.
Performance-Based Assessment
Another way to determine when it’s time for a stylus replacement is to assess the performance of your turntable. There are several signs that can indicate your stylus needs to be replaced, including:
- Audible hiss or static where there was none previously on your favorite album
- Overabundance of sibilance, which refers to excessive “ssss” sounds by vocalists
- Distortion or skipping during playback
- Reduced sound quality or clarity
If you notice any of these signs, it’s important to inspect your stylus for visible wear and evaluate the sound quality during playback. By taking proactive steps to maintain your turntable and replace the stylus as needed, you can preserve the life of your vinyl records and enjoy optimal sound quality for years to come.
Selecting the Appropriate Stylus
When it comes to selecting a stylus, you need to consider the type of stylus tip and compatibility with your turntable. Here’s what you need to know:
Types of Stylus Tips
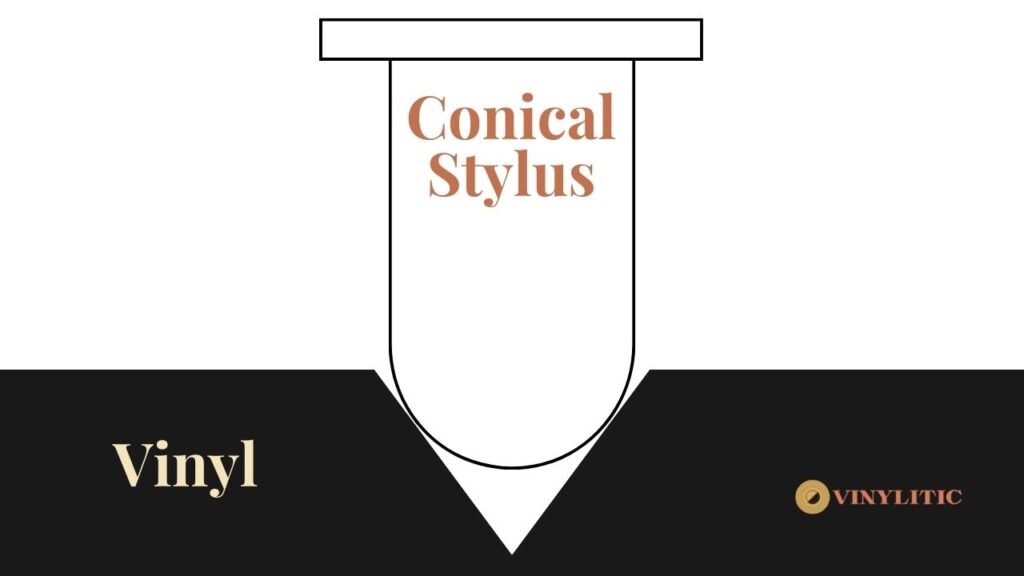
There are three main types of stylus tips: conical, elliptical, and micro-line. Each has its own unique characteristics that affect the sound quality.
- Conical tip: This is the most common type of stylus tip. It has a rounded shape and is suitable for playing older records with wider grooves. Conical tips are also less expensive than other types of tips.
- Elliptical tip: This type of tip has a more oval shape and is suitable for playing newer records with narrower grooves. Elliptical tips provide better sound quality than conical tips, but they are also more expensive.


Compatibility with Turntables
It’s important to make sure that the stylus you select is compatible with your turntable. Check the turntable’s user manual or manufacturer’s website to find out which stylus types are compatible. You can also look for the model number of your turntable and search for compatible stylus types online.
In addition to compatibility, you should also consider the tracking force of your turntable. The tracking force is the amount of pressure that the stylus applies to the record. Each stylus type has a recommended tracking force range, so be sure to check that your turntable can support the tracking force of the stylus you select.
Overall, selecting the appropriate stylus for your turntable is crucial for achieving high-quality sound and prolonging the life of your records. Consider the type of stylus tip and compatibility with your turntable to make an informed decision.
Step-by-Step Replacement Guide
Replacing a stylus is a simple process that can be done easily at home. Here is a step-by-step guide to help you replace your turntable stylus:
Preparing Your Workspace
Before you begin, make sure you have a clean, flat surface to work on. Gather all the necessary tools and materials, including your new stylus, a pair of tweezers or needle-nose pliers, and a cleaning solution. It is also important to read the manufacturer’s instructions for your turntable and stylus.
Removing the Old Stylus
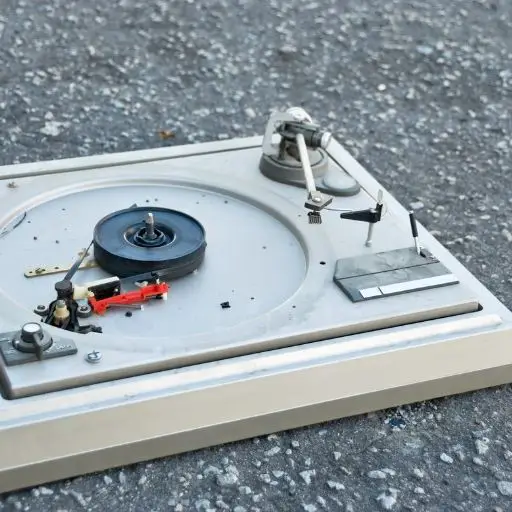
To remove the old stylus, first, locate the tonearm on your turntable. Gently lift the tonearm (Consider getting someone to help you support the tonearm).
Most styli can be removed by simply gripping the assenbly and pulling towards you. Tools may be of benefit here should it be quite tight.
Do not force too hard, and always follow specific manufacturer’s guidelines.
Installing the New Stylus
Your new stylus should be simply the reverse of dissassembly.
Carefully align the new stylus with the pins and gently push it into place. Be sure to align the stylus correctly to avoid damaging it or the cartridge.
Finally, use a cleaning solution to clean the stylus and cartridge, and you’re ready to start playing your records again.
If your stylus is of a different manufacturer, review if you need to set up your alignment.
In conclusion, replacing your turntable stylus is a simple process that can help improve the sound quality of your records. With the right tools and a little bit of patience, you can easily replace your stylus at home.


